 Pin It
 My daughter came home from school with a green construction paper shamrock taped to her backpack, and suddenly St. Patrick's Day felt urgent in our kitchen. I had spinach wilting in the crisper drawer and a block of sharp cheddar that needed rescuing, so I grabbed a cookie cutter from the baking drawer on impulse. The shape felt like a small celebration, something that turned an ordinary weeknight into something the kids would actually want to eat without complaint.
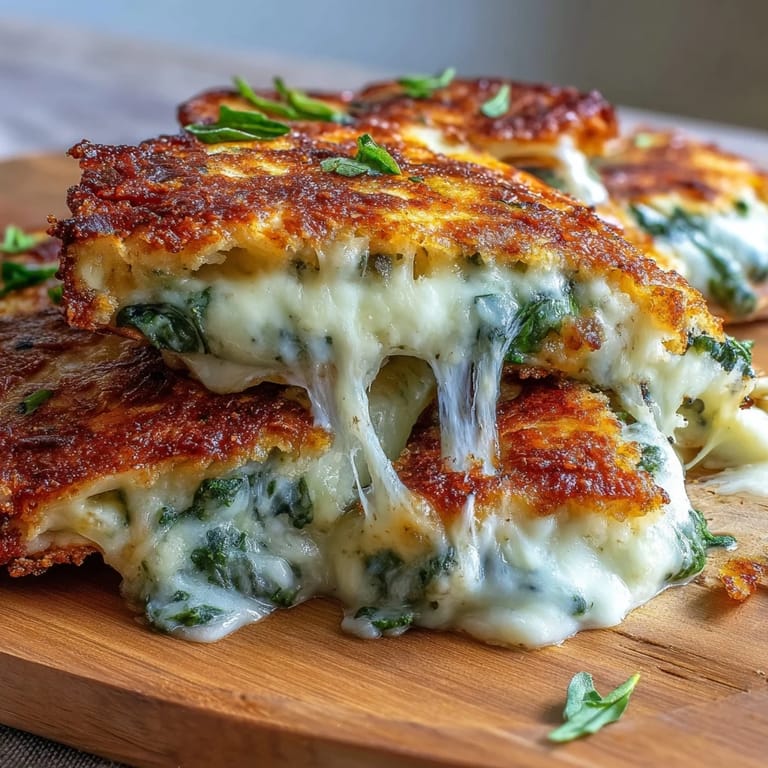
I made these for a small gathering last March, and the moment someone bit into one and saw the green spinach spilling out from under the golden tortilla, the whole room lit up. It wasn't fancy enough to feel stressful, but it was thoughtful enough that people actually commented on them. That's when I realized festive food doesn't need to be complicated, just a little bit intentional.
Ingredients
- 8 large flour tortillas (10-inch): These are your canvas, sturdy enough to hold filling without tearing but still flexible enough to cut into shapes without cracking.
- 2 cups fresh baby spinach, chopped: Raw spinach wilts dramatically when it hits the warm cheese, so don't be alarmed by how much you're starting with, it condenses beautifully.
- 2 cups sharp cheddar cheese, grated: Sharp matters here because mild cheddar gets lost in the background, and you want the cheese flavor to be a real presence.
- 1 tablespoon olive oil or melted butter: This creates the golden, slightly crispy exterior that makes these feel indulgent even though they're simple.
- Pinch of salt and black pepper: Don't skip this seasoning step, a little salt brings out the spinach and cheese in ways you won't expect.
- Sour cream, for serving: A cool dollop cuts through the richness and gives you something to dip into, making the whole experience less one-note.
- Salsa or pico de gallo, for serving: Brightness matters, especially when your filling is earthy spinach and rich cheese.
Tired of Takeout? 🥡
Get 10 meals you can make faster than delivery arrives. Seriously.
One email. No spam. Unsubscribe anytime.
Instructions
- Get your skillet ready:
- Place a large nonstick skillet over medium heat and let it warm while you prep everything else. This prevents the frustration of having your quesadillas ready while you're still waiting for the pan to heat up.
- Cut your shamrock shapes:
- Using a shamrock-shaped cookie cutter, press firmly through each tortilla and wiggle gently to release the shape. You'll get about 2 to 3 clean shamrocks per tortilla, though some edges might be a little rough and that's completely fine.
- Layer your filling:
- Lay half your shamrock tortillas on a clean surface, then sprinkle each one generously with chopped spinach and grated cheddar. Add a pinch of salt and pepper, then top with another shamrock tortilla and press down gently so the layers feel bonded.
- Brush with oil:
- Use a pastry brush or your fingertips to lightly coat the top of each quesadilla with olive oil or melted butter. This is what gives you that golden, slightly crispy finish that feels restaurant-quality.
- Cook until golden:
- Place the quesadillas in your hot skillet and let them sit undisturbed for 2 to 3 minutes until the bottom turns golden brown. Flip carefully with a spatula and cook the other side until the cheese is visibly melted and the tortilla is golden.
- Rest and serve:
- Remove the quesadillas to a plate and let them cool for just a minute so the cheese sets slightly. Serve with sour cream and salsa on the side for dipping and tasting.
 Pin It
 My son asked if we could make shamrock quesadillas again the next week, which almost never happens with food I've made. That's when I understood that food shaped like something magical becomes more memorable, even when the ingredients are ordinary.
Flavor Variations That Work
Once you've made these once, you might feel brave enough to adjust them. A pinch of cumin adds earthiness that complements the spinach, while a tiny sprinkle of chili flakes introduces warmth without making them spicy. I've also added finely chopped green onions to the filling, which brings a fresh sharpness that plays nicely against the melted cheese. Some people swear by adding a thin layer of cream cheese under the cheddar, which creates an almost luxurious texture, though it's not necessary.
Making Them Ahead of Time
These don't store brilliantly after cooking, but you can absolutely assemble them hours before you need to cook them. I've kept stacked, uncooked quesadillas in the refrigerator covered with plastic wrap for up to 4 hours, and they cook just as well as fresh ones. Cold quesadillas take maybe an extra minute per side to get the cheese melted through, so just give them a little extra time on the heat if they've been refrigerated.
Serving Ideas That Feel Special
These work beautifully as a lunchbox surprise, a quick appetizer before a bigger meal, or honestly just as a fun dinner on a random Tuesday. On St. Patrick's Day I've arranged them on a platter with the sour cream and salsa in small bowls nearby, which transforms them from dinner into something that feels like a celebration.
- Cut them in half if you're serving a crowd and want them to feel like appetizers rather than a main course.
- Serve them warm right out of the pan when possible, the cheese stretches differently when it's still melted hot.
- If you're making these for kids, let them help cut the shamrock shapes, it makes the whole thing feel like their invention.
 Pin It
 The magic of these isn't in the ingredients, it's in the small moment where someone realizes what shape they're holding. Make them when you want dinner to feel a little bit like play.
Recipe FAQs
- → What is the best cheese for these quesadillas?
Sharp cheddar is ideal for its rich flavor and excellent melting properties, complementing the spinach perfectly.
- → Can I use other greens besides spinach?
Yes, baby kale or Swiss chard can be a tasty alternative, adding different textures and nutrients.
- → How do I get perfect shamrock shapes?
Use a shamrock-shaped cookie cutter or carefully cut with a knife for consistent shapes that hold filling well.
- → What is the best way to cook the quesadillas evenly?
Cook on medium heat in a nonstick skillet, 2-3 minutes per side, until tortillas are golden and cheese fully melted.
- → Can I prepare these ahead of time?
Yes, assemble and refrigerate the shaped quesadillas, then cook just before serving for optimal freshness.