Pin It
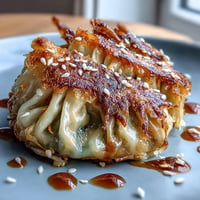
 The first time I made these cutlets, my kitchen smelled like an Italian grandmother's Sunday afternoon collided with a casual Tuesday night dinner. I was trying to recreate that perfect katsu crunch I'd fallen in love with, but wanted something distinctly my own. The moment that parmesan hit the hot oil, I knew I was onto something magical. My roommate wandered in, drawn by the sound of sizzling bread crumbs, and we ended up eating standing up at the counter.
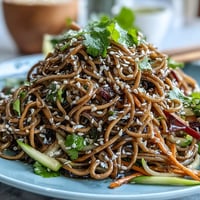
Last summer, my sister came over exhausted from a brutal work week and I made these bowls without really measuring anything. She took one bite, closed her eyes, and told me this was the kind of meal that makes you believe everything will be okay. We sat on my balcony until sunset, picking at the leftover arugula and talking about nothing important, and I realized this recipe had become part of my comfort rotation.
Ingredients
- Thin chicken breast cutlets: These cook faster and more evenly than thick ones, and I've learned the hard way that pounding them yourself can lead to uneven spots
- Panko breadcrumbs: Their coarse airy texture creates this incredible crunch that regular breadcrumbs just can't achieve
- Grated Parmesan: Use the freshly grated stuff from the deli section, not the powdered kind in the shaker can
- All purpose flour: Helps the egg wash stick and creates that essential first layer of the breading
- Large eggs: Room temperature eggs coat more evenly, so take them out about 20 minutes before you start cooking
- Garlic powder: Distributed evenly throughout the coating, it gives every bite a subtle savory depth
- Olive oil: You need enough to create a shallow fry situation without deep frying
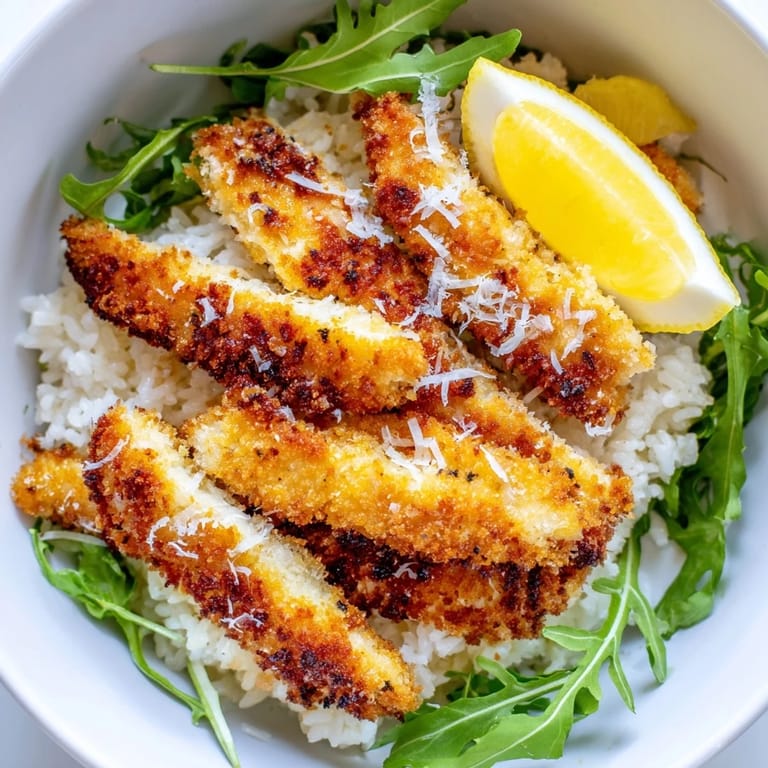
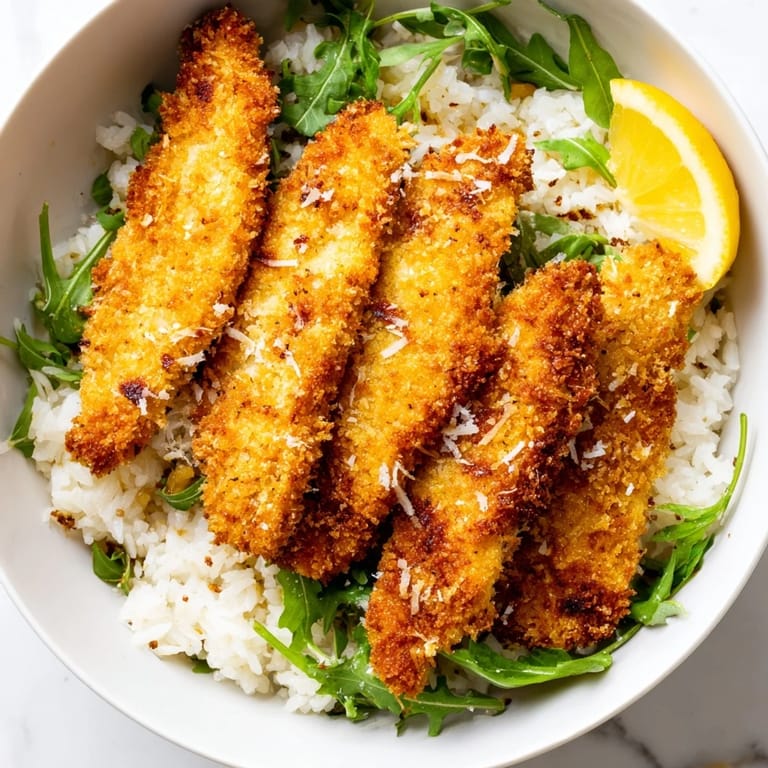
- Cooked rice: White rice is traditional, but brown adds a nice nutty contrast to the bright lemon
- Fresh arugula: Its peppery bite and tender leaves make it perfect for wilting slightly under hot chicken
- Lemon wedges: Don't skip the fresh squeeze, it's what makes the whole bowl sing
Tired of Takeout? 🥡
Get 10 meals you can make faster than delivery arrives. Seriously.
One email. No spam. Unsubscribe anytime.
Instructions
- Get your rice going first:
- Whatever rice you're using, start it now so it's ready and waiting when the chicken hits the table
- Set up your breading station:
- Three shallow bowls make this process so much easier—flour mixed with seasonings first, then beaten eggs, then the panko parmesan mixture
- Coat each cutlet with intention:
- Press the chicken firmly into the crumb mixture, making sure every surface is covered for maximum crunch
- Fry until golden perfection:
- Listen for that satisfying sizzle and watch for the edges to turn deep golden brown before flipping
- Let them rest briefly:
- A quick paper towel drain helps keep that crust crisp instead of soggy
- Slice against the grain:
- Cutting into strips makes everything easier to eat and looks so inviting in the bowl
- Assemble with care:
- Warm rice first, then that handful of fresh arugula, and arrange the chicken like you're plating for a food blog
- The final squeeze:
- Fresh lemon juice right before eating transforms the entire bowl
 Pin It
 My friend's daughter, who's the world's pickiest eater, asked for thirds when I made this for their family dinner. Her mom stared at me across the table like I'd performed some kind of miracle, but really, it's just hard to resist crispy golden chicken with that bright fresh finish.
Making It Your Own
Sometimes I swap the arugula for baby spinach when I want something milder, and once I used mixed greens from a bag when that's what I had. The core concept stays the same, but the greens can absolutely be flexible based on what looks good at the store.
Sauce Swaps
A drizzle of tonkatsu sauce takes this in a more traditional Japanese direction, while a light yogurt dressing adds creaminess without overwhelming the dish. I've even served it with just extra lemon and a sprinkle of everything bagel seasoning when I wanted to keep things simple.
Side Dish Magic
A crisp Sauvignon Blanc cuts through the richness beautifully, but chilled green tea works just as well. These bowls are satisfying enough to stand alone but pair nicely with a simple cucumber salad dressed with rice vinegar.
- Miso soup adds a traditional touch
- Pickled vegetables bring welcome acidity
- A side of steamed edamame completes the meal
 Pin It
 This recipe has become my go-to for dinner guests who claim they don't cook, because everyone deserves a meal that makes them feel taken care of.
Recipe FAQs
- → How do I keep the chicken cutlets crispy?
Ensure your oil is at medium heat before frying—this allows the coating to crisp while the chicken cooks through. Fry for 3–4 minutes per side without overcrowding the pan. Drain on paper towels immediately after cooking to remove excess oil.
- → Can I prepare the chicken ahead of time?
Yes, you can bread the cutlets up to 2 hours in advance and refrigerate them. Fry just before serving for the best crispness. Cooked chicken stays fresh in the refrigerator for 3 days and can be gently reheated in a 350°F oven.
- → What rice works best for this dish?
Both white and brown rice work beautifully. White rice offers a lighter, fluffier base, while brown rice adds nuttiness and extra fiber. Prepare the rice while breading the chicken to keep everything warm and synchronized.
- → Is this gluten-free friendly?
Absolutely. Substitute all-purpose flour with a gluten-free blend and use certified gluten-free panko breadcrumbs. All other ingredients are naturally gluten-free. Always verify packaged items for cross-contamination warnings.
- → What dressings pair well with this bowl?
Light lemon juice, tonkatsu sauce, or a simple yogurt-based dressing complement the crispy chicken beautifully. A drizzle of sesame oil or a squeeze of lime juice also adds brightness without overpowering the delicate flavors.
- → Can I use a different protein instead?
Yes, thin pork cutlets, veal, or even firm fish fillets work wonderfully with this breading technique. Adjust cooking time based on thickness—aim for golden-brown exterior and cooked-through interior.